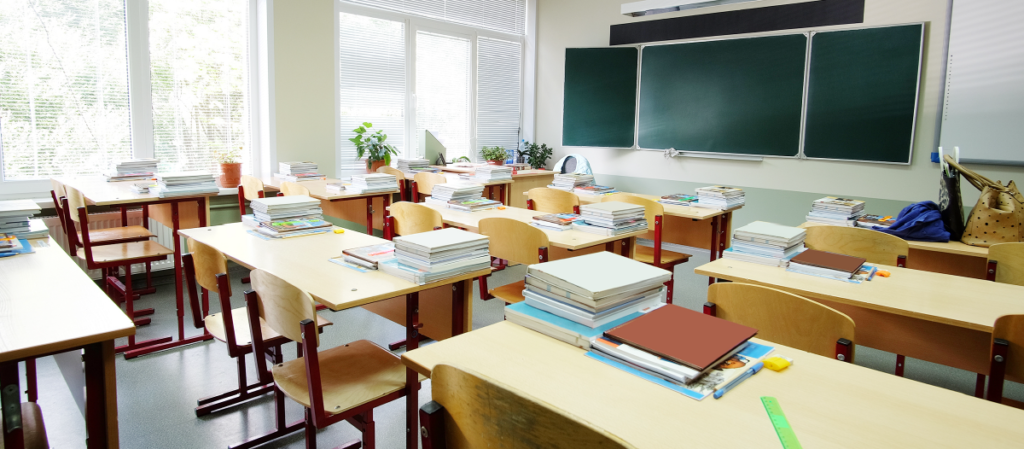
The physical space of the classroom plays a significant role in both the culture and community of your learning environment. In fact, I consider the space to be a third teacher, alongside the students and myself. Classroom space is most effective when it invites and encourages learning: bookshelves invite readers to read, math shelves invite exploration of geometry and algebra, and displays invite discussion or debate, just to name a few examples. And while it is tempting to fill up every inch of the classroom with displays and materials, it is essential to have a tidy, organized space that invites meaningful learning and interactions. As I set up my classroom, I keep three big ideas in mind:
- Organization is key to the infrastructure. An organized space sets the tone for how things will be done in your classroom. I like to start with a minimalist setup in which materials are clearly labeled and accessible.
- Minimize visual distractions. If it doesn’t serve a purpose, store it to use later in the year or offer it to another educator.
- Let the furnishings multi-task. Let furniture serve more than one purpose. Embrace the 70/30 principle: if 70% of the furniture serves a dual purpose, don’t stress about the rest.
With these three key ideas in mind, here are ten ways to set up your classroom for success before students arrive.
- Start with a clean slate. You’ll spend most of your waking hours in your classroom, so make time to give it a proper clean. This is the perfect opportunity to consider what furniture serves multiple purposes and what you might be able to live without.
- Channel Marie Kondo. Teachers often have a scarcity mindset when it comes to supplies. But purging unused items frees up space for those you do use and brings a sense of lightness, openness, and creativity. If you haven’t used it in two years, you inherited it, or it looks older than you, get rid of it. It is an added bonus if you find someone else who can use it!
- Inspect the walls. Are your walls neat and inviting or cluttered and distracting? Many of us tend toward an overabundance of displays, but a 2014 study examining the effects of the visual environment on children’s learning found that young children struggled to filter out the displays of a highly decorated learning environment. As a result, they spent more time off-task, and demonstrated smaller learning gains. Keep items on the walls simple, relevant, and organized.
- Label meticulously. When things are put in the proper place, they are more available to students. Labels support students in finding materials and properly returning them. They also create opportunities for students to build autonomy and responsibility. Plus, this organizing will serve you well all year. If any labels wear out, invite students to make new ones!
- Schedule space surveys. Once a month, schedule time to take stock of your space. I write this in my calendar so I don’t forget or mindlessly start doing it when I have other work that needs my attention. What you’re not using, put away, including any anchor charts that are not still relevant.
- Plan Interactive Modeling lessons. Now that you have invested time in organizing the space, consider the routines and procedures students will need to know to be successful. Make a list of each and plan your Interactive Modeling lessons, or check out those already outlined in Interactive Modeling.
- Post what is most important. We all have essential information that needs to be displayed, including class lists, schedules, and emergency procedures. Post these neatly in a way that supports their use. Consider using simple mats or frames or securing them to the wall with removable Velcro or magnets.
- Plan a prominent display point for class guidelines. Each summer, I keep an eye out at yard sales or Goodwill for a new frame that will hold my upcoming class’s unique rules. These rules will be the center point of our work, particularly in the first six weeks, so the display needs to beckon students’ attention and reflect their intentions and hopes.
- Make space for everyone. Whether you have tables, crates, or desks, each student needs a workspace. Look for opportunities to minimize what is on students’ tables or desks by making a space for shared supplies to be stored. Many children do better with learning tasks when there is less in front of them. Plus, getting up to get necessary materials can provide movement that helps focus attention and build cooperation skills.
- Secure your spot. Where can you station yourself for students’ arrival each day to greet each student individually? Where is your workspace, and can you see the whole class from there? Do you need an entire desk, or will a portable workstation help you join small groups throughout the classroom? Minimizing teacher workspace often frees up more space for interactive learning.
Thinking proactively about your space sets everyone up for success. Take time now to assess your space and start with a clean slate. Soon you will be welcoming new students to the classroom—how will you show them the space is made for them and their learning?
Lisa Dewey Wells is a consultant and coach for the Center for Responsive Schools and co-wrote the book Empowering Educators: A Comprehensive Guide to Teaching K, 1, and 2. She has taught preschool through middle school for nearly thirty years.
